Is Your Home Appliance Ready for Fall? A Handy Checklist

As the leaves start to change color and the air becomes crisp, we know fall is upon us. It’s a beautiful time, but it’s also the perfect moment to ensure your home appliances are ready for the chillier months ahead. So let’s dive into a helpful checklist to ensure your home is snug, safe, and energy-efficient.

Your Fall Home Maintenance Checklist

  1. Check Smoke Detectors: You should check your smoke detectors twice a year – fall and spring cleans are the perfect time to do this. Ensure they’re functioning properly and replace batteries if needed.
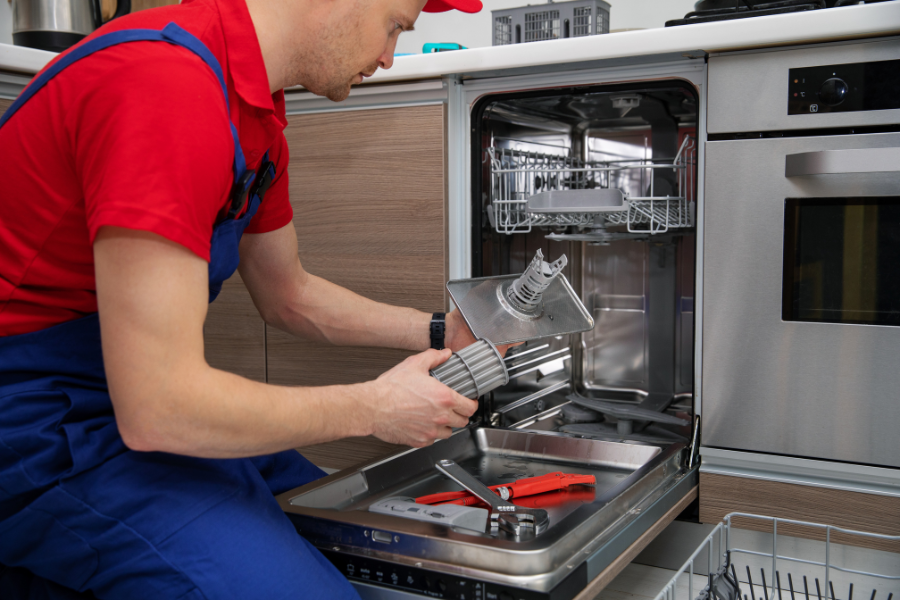
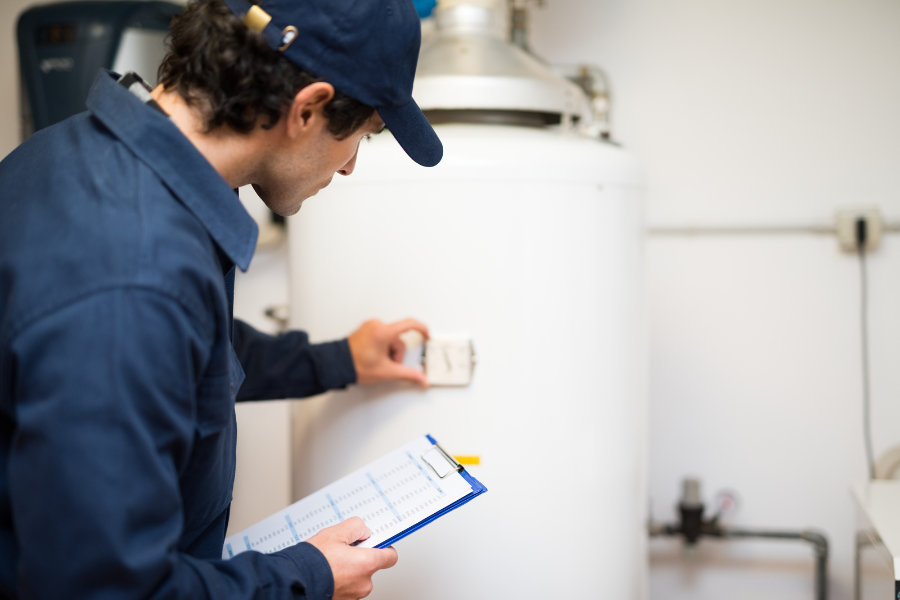
  2. Replace Air Filters And Check Your HVAC System: Your HVAC system needs a clean, pleated paper air filter to function optimally. Depending on usage, these should be replaced monthly or quarterly (every 3 months). While doing so, give your HVAC a thorough check. You’ll want to fix any issues now rather than when the heat goes out in the middle of winter!
  3. Care for Outdoor Spigots: Before the first freeze hits, protect your outdoor spigots with freeze protectors. These handy devices can prevent frozen pipes and potential water damage. Also, do one last check for leaks before you put everything away for the winter.
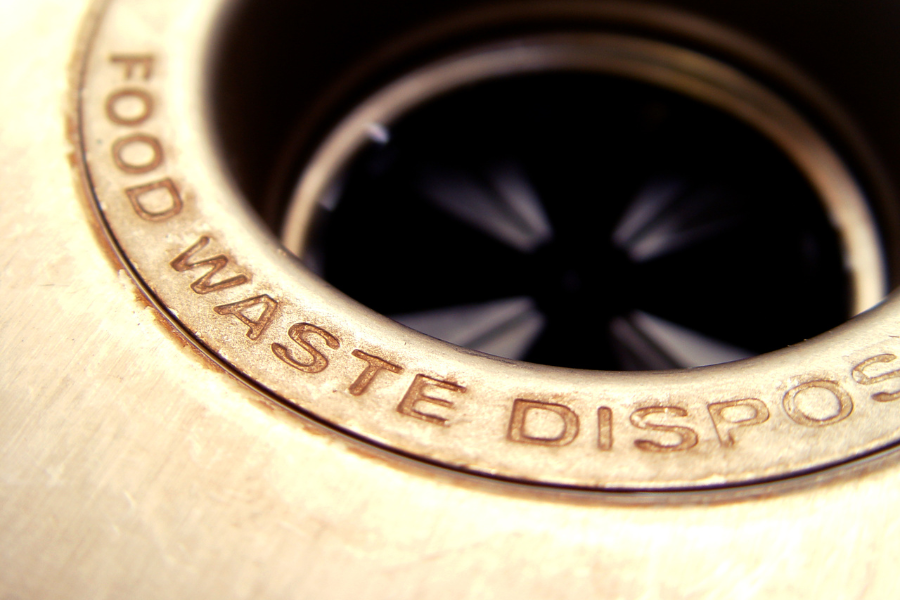
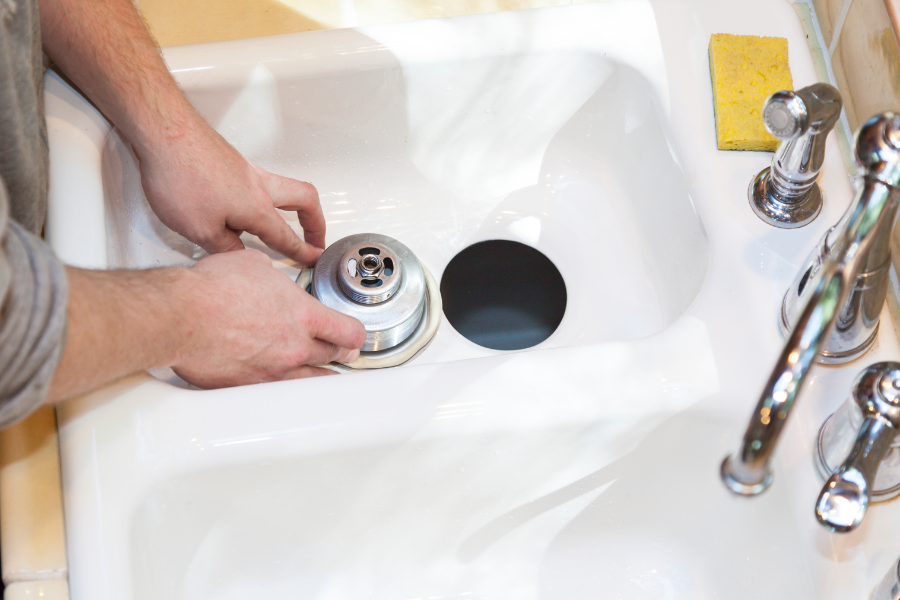
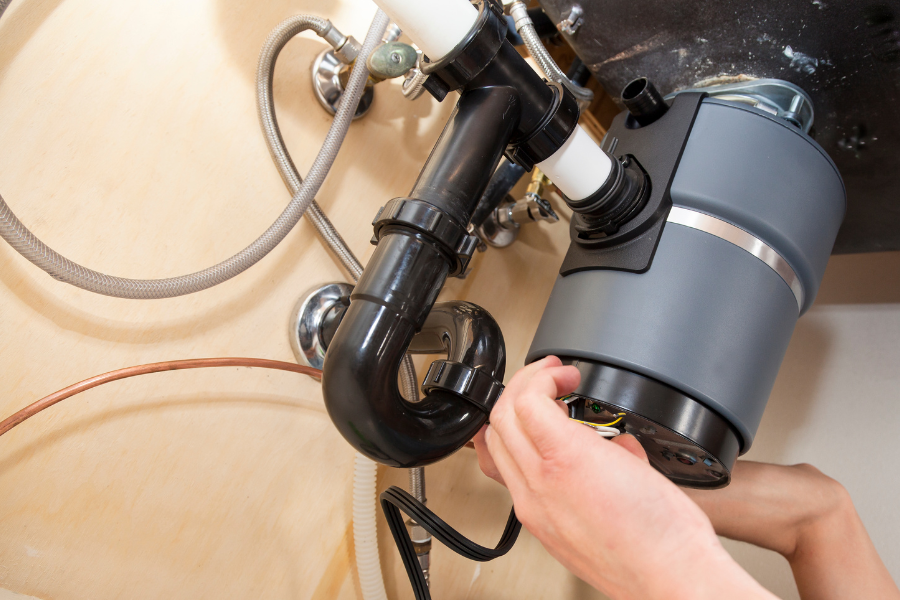
  4. Clean the Garbage Disposal: With all the hearty fall cooking, your disposal might see some extra action. Keep it running smoothly by giving it a good clean.
  5. Seal Air Leaks: Keep the warm air in and the cold air out by sealing any air leaks around windows and doors. This simple step can save energy and keep your home cozy.
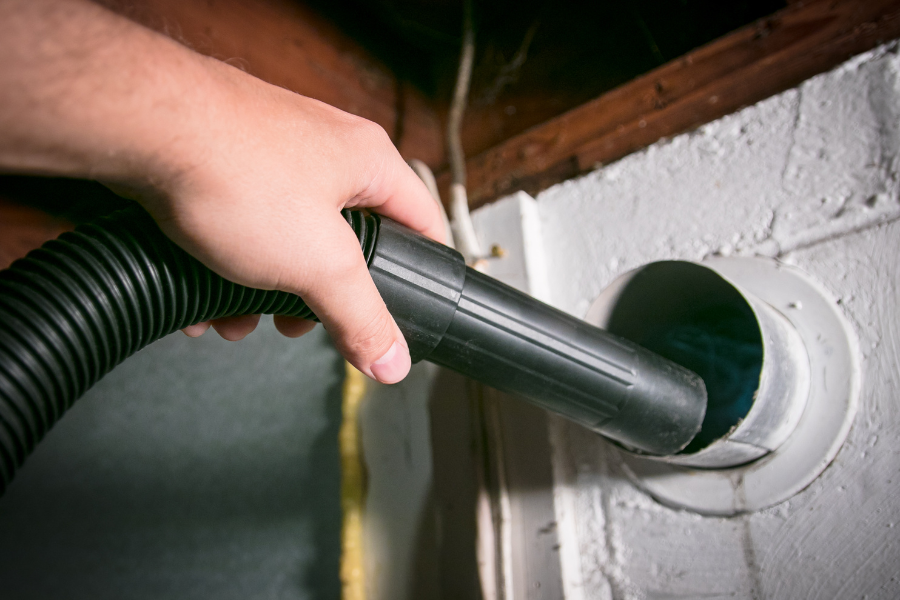
  6. Clean Gutters and Downspouts: Falling leaves can clog gutters and downspouts. Cleaning them out can prevent water damage and keep them functioning properly.
  7. Check Your Roof: Checking your roof should be another bi-annual task. Before winter weather hits, give your roof a once-over for any potential issues or repairs needed.

Remember, a well-maintained home is not just about comfort, it’s about safety too. Taking these steps will ensure a cozy, worry-free fall season. As we bid farewell to summer and welcome the beautiful autumn season, let’s ensure our homes are ready too.

If you do encounter any issues that need fixing while going through your checklist, don’t hesitate to call in a professional. With a home warranty, you can save money on repairs and make the process much, much easier! Contact Trinity Home Advisors today to set up a warranty, and settle in for a stress-free fall!

Dishwasher Cleaning & Maintenance: 5 Sparkling Tips for a Sparkling Machine

The dishwasher is the unsung hero of the kitchen. So many of us rely on these machines to make our lives easier, but are you doing enough to take care of it in return?

If your dishes haven’t been quite as clean as they could be, it might be time to give the dishwasher a wash of its own. With these 5 bright and shiny tips, you’ll be able to keep your dishwasher running smoothly and your dishes sparkling clean.

5 Dishwasher Cleaning & Maintenance Tips

  1. Regularly Clean the Filter: Your dishwasher filter traps food particles during the wash cycle. To keep your dishwasher running efficiently, clean the filter regularly by rinsing it under warm water and scrubbing gently with a soft brush.
  2. Inspect the Spray Arm: The spray arm is key to your dishwasher’s cleaning power. Check it regularly for clogs or food particles and clean it as necessary.
  3. Use a Dishwasher Cleaner: Every few months, run your dishwasher empty with a specially formulated dishwasher cleaner. This can help remove accumulated grease and limescale.

    TIP: Don’t want to spend money on a cleaner? A mug of white vinegar on the top shelf of your dishwasher will clean things up, too!

  4. Check the Door Seal: A leaky dishwasher can be due to a damaged door seal. Inspect the seal for cracks or damage and replace it if necessary.
  5. Don’t Overuse Detergent: More isn’t always better when it comes to dishwasher detergent. Using too much can leave residue on your dishes and inside the dishwasher. Follow the manufacturer’s recommended amount.

Remember, preventative care is the best way to avoid costly repairs down the line. Regular maintenance not only extends the life of your dishwasher but also improves its performance, ensuring you’ll always have spotlessly clean dishes.

If you do encounter any issues that seem beyond your skills, don’t hesitate to call in a professional. With a home warranty, you can save money on repairs and make the process much, much easier! Contact Trinity Home Advisors today to set up a warranty to keep your dishwasher – and your other appliances – in tip-top shape!

Keep Your Dryer Vent Clear With 6 Easy Steps

When was the last time you took a look at your dryer vent? If the answer is “I don’t remember,” you’re not alone. This often-overlooked appliance is tucked away out of sight, but that doesn’t lessen the amount of TLC it needs to keep your home running smoothly and safely.

Cleaning out your dryer vent will ensure that your dryer runs more efficiently – that means no more repeat cycles – and it presents any potential fire hazards from caught lint. So here’s everything you need to clean up your vent today! 

Step 1: Gather Your Tools

For this task, you’ll need a vacuum with a long hose attachment, a dryer vent brush kit, screwdrivers (just in case your vent is screwed in place), and some gloves to keep your hands clean.

Step 2: Unplug and Disconnect

Always unplug your dryer before starting any maintenance work. Once you’ve done that, pull the dryer away from the wall so you can access the vent. Disconnect the vent duct from the dryer.

Step 3: Vacuum the Dryer Vent

Use your vacuum to clean out both ends of the vent. Just attach your long hose and stick it right in. You’ll be surprised at the amount of lint that can accumulate in there.

Step 4: Brush Out the Vent

Use your dryer vent brush to scrub out the vent. This will help get rid of any stubborn lint that your vacuum couldn’t reach.

Step 5: Reattach the Duct

Once you’re satisfied with the cleanliness of your vent, reattach the duct to your dryer. Make sure it’s secure before moving on.

Step 6: Test Run

Plug your dryer back in and do a quick test run with some old towels or rags. Check the external vent while the dryer is running to make sure air is flowing freely.

Congratulations! You’ve successfully cleaned your dryer vent. By doing this simple maintenance task, you’ve not only improved the efficiency of your dryer, but you’ve also made your home safer.

Remember, it’s recommended to clean your dryer vent at least once a year. And, if your dryer still isn’t quite doing its job, it might be time to call a professional. With a home warranty, you can save money on repairs and make the process much, much easier! Contact Trinity Home Advisors today to set up a warranty for your dryer, washer, heater, and other appliances to keep your home in tip-top shape.

Warm Up to These 7 Helpful Hints About Your Water Heater

We all love our water heaters, but often we don’t think about them much until we’re faced with an ice-cold shower. Rather than waiting for your next surprise wake-up call, take care of your water heater in advance! Let’s turn up the heat with some helpful hints on understanding and maintaining your water heater, so you can keep it in tip-top shape!

Remember, safety first! Always turn off the power supply before inspecting your water heater, especially when dealing with gas or electricity.

7 Hot Tips for Your Water Heater

  1. Know Your Heater Type: There are two main types of water heaters—tankless and storage tank. Just knowing which type you have can help you anticipate potential issues and how best to maintain it without any frantic Googling in a crisis.
  2. Check the Thermostat: Ensure your water heater’s thermostat is set to an optimal temperature. The Department of Energy recommends a setting of 120 degrees Fahrenheit to save energy and prevent scalding.
  3. Drain and Flush Regularly: Did you know that water heaters can get sediment buildup? This can affect its efficiency and shorten its lifespan.Once a year, you should drain and flush out your water heater to keep it running smoothly.
  4. Inspect the Pressure Relief Valve: This safety feature releases excess pressure from the tank to prevent it from exploding. Be sure to test it regularly to ensure it’s working correctly.
  5. Insulate Your Tank: Older tank models sometimes need a little help with insulation. By adding insulation, you can reduce heat loss, which can improve efficiency and save on your energy costs.
  6. Listen for Noises: Unusual sounds from your water heater could signal a problem. Banging or rumbling noises might indicate sediment buildup, while a high-pitched whine could mean a faulty valve. If anything sounds off, it’s worth getting checked out.
  7. Plan for Replacement: Most water heaters last between 8-12 years. By keeping track of your water heater’s age, you can plan for its replacement (and avoid an unpleasantly icy shower.)

By understanding your water heater and performing regular maintenance, you can ensure its longevity and efficiency. Remember, if you encounter any issues that seem out of your depth, don’t hesitate to call in a professional.

If your water heater is covered by a warranty, it could mean saving a lot of money on repairs and replacements! Contact Trinity Home Advisors today to get coverage for your water heater (and other appliances!) to give you peace of mind even after a freezing shower.

What To Check When Your Freezer’s Not Working: A Handy Guide

Have you found yourself in a bit of a cold spot because your trusty freezer isn’t working as it should? Don’t call the repair man just yet; here are some simple checks you can do yourself. Sometimes the solution is much easier than you think!

Remember, safety first! Before you start your inspection, always unplug your freezer.

Step-by-Step Freezer Checklist

  1. Check the Power Supply: You’d be surprised how often something so simple is the culprit. Make sure your freezer is properly plugged in, and check to see that the outlet is functioning properly by plugging another device into the same outlet.
  2. Inspect the Freezer’s Thermostat: Your freezer’s temperature is controlled by an internal thermostat. If it’s set too high, your freezer might not be cold enough. Try adjusting the thermostat to a lower setting and see if that helps.
  3. Examine the Door Seal: A worn-out or damaged door seal can allow cold air to escape, causing your freezer to work overtime–or worse, not keep cold at all. Inspect the seal around the edge of your freezer door for any signs of wear and tear.
  4. Look for Frost Build-up: Sometimes, too much frost can interfere with the freezer’s cooling process. Defrosting your freezer might solve the problem.
  5. Check the Coils: Over time, the condenser coils on the back of your freezer can accumulate dust and dirt, making it harder for your freezer to cool down. Luckily, it’s an easy fix– just clean these coils with a coil brush or vacuum.
  6. Listen for the Motor: If your freezer is on but not cooling, the motor might be the issue. Listen for any unusual sounds. You should hear a gentle hum from it. If it’s making strange sounds, or if it’s completely silent, it might be time to call a professional.
  7. Check the Evaporator Fan: The evaporator fan circulates cold air inside the freezer. If it’s not working properly, your freezer won’t cool effectively. For this fix, you’re better off calling a professional.

Conclusion

It’s always frustrating when our appliances aren’t working as they should, but with a little patience and some handy know-how, we can often find the simplest solution for a minor problem. But, if your freezer is still acting up after your checks, or if you’re in doubt about what you can fix, don’t hesitate to call in the experts.

Trinity Home Advisors is here to take care of all your home woes. With our warranty plans, we offer round-the-clock care for all your home appliance and system needs. Take a look at our products and get covered today!

8 Simple Steps To Keep Your Garbage Disposal Clean and Fresh

A garbage disposal is a convenience many of us take for granted…until it stops working. If you’ve noticed your garbage disposal isn’t working quite as well as it should, or if you’ve got an odor problem from it, it may be time for a little TLC. Like all appliances, your garbage disposal requires regular maintenance to keep it running smoothly; a little care can even increase its lifespan before needing a replacement.

Luckily, maintenance for garbage disposals is pretty easy! We’ll walk you through eight simple steps to properly clean and maintain your garbage disposal, ensuring its longevity and efficiency. Let’s dive in!

Step 1: Safety First: Before you begin any maintenance work, make sure to turn off the power to your garbage disposal. Your disposal should have a plug dedicated to it under the sink. Unplug the unit before you get to work to avoid any unfortunate accidents.

Step 2: Remove Unwanted Debris: Some things just don’t belong in your disposal, like bones, eggshells, peelings, and other things too big for the drain. And, on occasion, glass or utensils can find their way down the drain, too. If you’ve found a blockage, start by clearing out any big items with a pair of tongs or pliers.

DO NOT put your hands down the disposal, even when it’s unplugged. 

Step 3: Check for Clogs: If you’ve noticed that the water is draining slowly or not at all, it could be a sign of a clog. You can use a chemical drain cleaner to clear it. Alternately, insert a plunger over the drain opening and give it a few forceful plunges to dislodge any debris.

If the clog persists, you may need to call a professional plumber for assistance. If you’re not having any issues with clogs, you can skip right to step 4.

Step 4: Scrub Away Buildup: To remove any stubborn grime or buildup, create a mixture of equal parts baking soda and vinegar. Pour it down the drain and allow it to soak for about half an hour. Then, flush the drain with hot water–either from the sink or boiled on the stove or kettle.

The chemical reaction between the baking soda and vinegar will help break down any residue, leaving your disposal clean and free from unpleasant odors.

Step 5: Brush the Blades Using an old toothbrush or a small cleaning brush, gently scrub the rubber flaps and the underside of the disposal’s splash guard. This will help remove any trapped food particles or residue that can cause odors and affect the efficiency of your appliance.

Step 7: Grind Ice Cubes Grinding a handful of ice cubes in your disposal helps to sharpen the blades and remove any remaining buildup. Simply drop the ice cubes into the disposal and turn it on. The ice will break down into small particles, effectively cleaning the blades and improving the overall performance.

Be careful not to use too much, though, or you risk a drain. Just a few will do the trick!

Step 3: Freshen Things Up with Citrus: Once your disposal is cleared out and plugged back in, cut a lemon or lime into small chunks and toss them into the disposal. Run cold water and turn on the unit, allowing the citrus to break down and naturally deodorize the disposal with a fresh, clean scent.

Step 8: Rinse with Water To finish the cleaning process, run cold water for a few minutes to flush out any remaining debris. This will ensure that your garbage disposal is clean, fresh, and ready to tackle the next load of kitchen waste.

By following these simple steps regularly, you can keep your garbage disposal running smoothly and eliminate any unpleasant odors. Remember, proper maintenance not only extends the lifespan of your appliance but also ensures a cleaner and more efficient kitchen!

If there’s a clog or other issue that can’t be fixed with the steps above, though, don’t hesitate to call a professional! With a warranty from Trinity Home Advisors, you’ll have round-the-clock care for all your home appliance and system needs – including your garbage disposal! Take a look at our products and get covered today!